


Wilcom Embroidery Digitizing
Embroidery Digitizing
In EmbroideryStudio, you build designs from basic shapes or ‘embroidery objects’. These are like ordinary vector objects in that they have certain defining characteristics or ‘properties’ such as color, size, position, and so on. They also have properties unique to embroidery such as stitch type and density.
Digitizing embroidery shapes
This section discusses the automatic conversion of vector to embroidery objects. It also deals with manual digitizing methods, including digitizing free shapes, simple borders, and complex column shapes
Digitizing outlines and details
This section described techniques for creating outlines such as simple and motif runs, as well as decorative outlines
Embroidery fills
This section explains how to select stitch types for your various fills, including how to create Satin fills, Tatami, Motif, and Contour fills, and how to adjust stitch settings for best results. It also describes how to create Zigzag and E Stitch fills and borders
Threads and colorways
This section describes how to select colors from the color palette as well as how to set up color palettes, including matching image colors to threads. It also describes how to set up multiple colorways. It explains how to name elements within color blocks as well as how to split them across multiple colorways. It also explains how to customize and create your own thread colors and charts. It describes how to change backgrounds, including colors, fabrics, or products, as well as the display of display elements such as unsewn and sewn stitching to suit different colorways
Properties, fabrics, styles and templates
This section explains how to change property settings in a design, as well as how to apply and adjust fabric settings. It also explains how to create and maintain styles and templates in EmbroideryStudio
Wilcom Embroidery Digitizing
You can also follow us and see everything new Facebook, Instagram and Pinterest
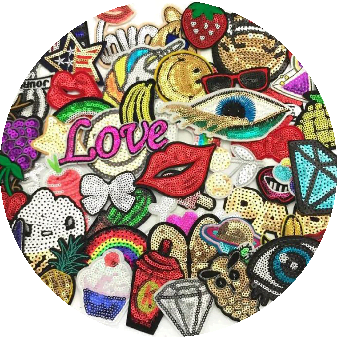
If you are looking for free embroidery designs, you can download them directly from here
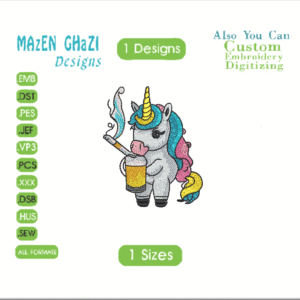
Embroidery digitization can also be customized by our elite professional designers
free patterns embroidery ,professional customized embroidery Designs
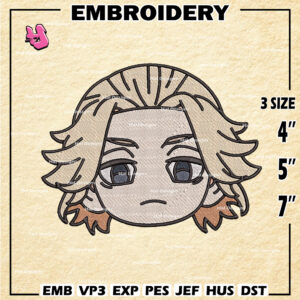
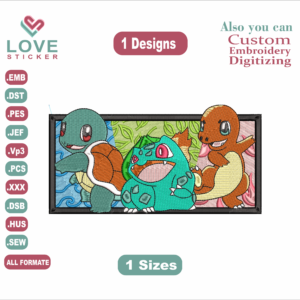
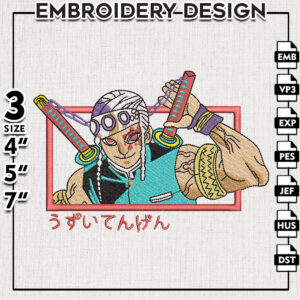
If you are looking for wonderful anime designs, you will find them at Hayani Design
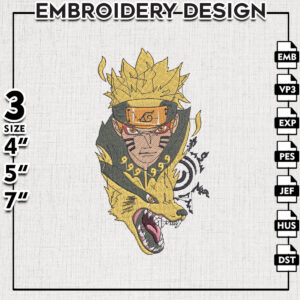
Find Anime Designs for Embroidery Machines at EmbroideryDesigns.
King Enma Yu Yu Hakusho, Kirby Embroidery, Kurapika Name, Killua Name, Jr Yu Yu Hakusho, Jojo Embroidery Design, Jingle Hamtaro, Hughes Fullmetal, HxH Characters Chrollo, HxH Cheadle, Hunter x Hunter Cheadle, Hunter x Hunter Japanese Name, Hisoka Anime Name, Happy Doraemon, Hanma Tattoo Tokyo Revengers, Hamtaro Jingle, Hamtaro Panda, Goku Turtle Hermit Symbol, Goku Turtle Symbol, Sanji Flag, Enma Yu Yu Hakusho, Rui Demon Slayer Full Name, One Piece Ashura Doji, Panda Hamtaro, One Piece Chopper Flag, One Piece Embroidery, One Piece Embroidery Designs, One Piece Inuarashi, Naruto Embroidery Designs, Meruem Name, Luffy Embroidery, Zoro Embroidery, Yu Yu Hakusho Pu, Spirited Away Embroidery, Armored Titan Name, Detective Conan Megure, Catarina One Piece, Sanjuan Wolf, Inari Naruto, Cheadle Hunter x Hunter, Devon One Piece, Cheadle Yorkshire.


Add comment
You must be logged in to post a comment.