Welcome to the ultimate guide on how to make your own shirt! Whether you’re a DIY enthusiast or simply itching to design your own one-of-a-kind wardrobe, this step-by-step instruction manual is your go-to resource. In this comprehensive guide, we’ll walk you through each stage of the process, from selecting the perfect fabric to putting the finishing touches on your creation.
The Ultimate Guide: Step-by-Step Instructions on How to Make Your Own Shirt
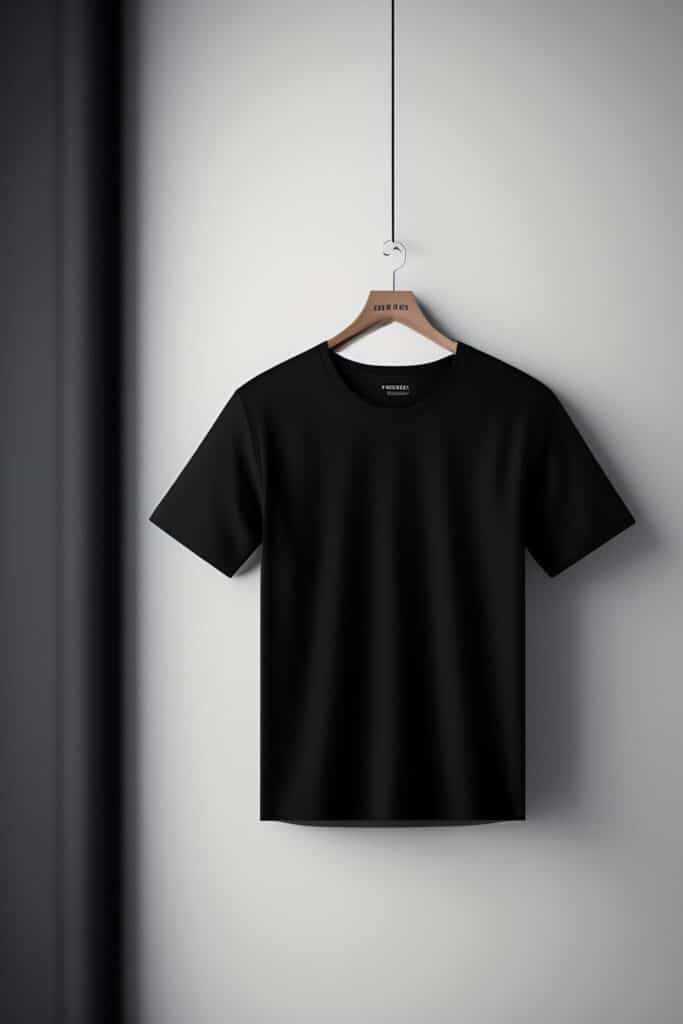
Discover the joy of personalization as we explore various techniques for designing and printing your own unique patterns and graphics. Learn the secrets of professional-quality stitching and achieve a polished look that rivals ready-to-wear garments. Our expert tips and tricks will ensure your finished shirt not only fits perfectly but also showcases your individual style.
We understand that every shirt-making journey is unique, which is why this guide offers a range of customization options. Follow our instructions precisely, or experiment and let your creativity soar. Whether you’re a beginner or an experienced sewist, this ultimate guide will equip you with the knowledge and skills to make your own shirt with confidence.
Get ready to embark on a transformative sartorial adventure and unleash your inner fashion designer. Let’s dive in and create a shirt that is uniquely you.
Gathering materials and tools
When it comes to making your own shirt, gathering the right materials and tools is crucial. Here’s a list of essentials you’ll need before you get started:
1. Fabric: Choose a fabric that suits the style and purpose of your shirt. Consider factors such as comfort, durability, and breathability. Cotton, linen, and silk are popular choices.
2. Pattern: Select a shirt pattern that matches your desired style. Patterns can be found online, purchased from a fabric store, or drafted from scratch.
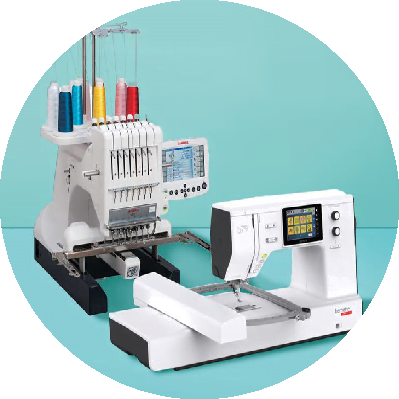
3. Sewing machine: Invest in a reliable sewing machine that suits your skill level. Make sure it’s capable of handling the fabric you’ve chosen.
4. Thread: Select a thread color that complements your fabric. Polyester thread is a versatile option that works well for most fabrics.
5. Scissors: Invest in a pair of sharp fabric scissors for cutting your fabric accurately.
6. Pins and needles: These are essential for holding fabric pieces together and sewing them in place.
7. Measuring tape: Accurate body measurements are crucial for ensuring a well-fitted shirt.
8. Iron and ironing board: Pressing your fabric at various stages of the process will result in a more professional finish.
9. Buttons, collars, and cuffs: Choose these accessories based on your shirt design and personal preference.
Now that you have your materials and tools ready, let’s move on to the next step.
Choosing the right fabric
The fabric you choose for your shirt can greatly impact its overall look, feel, and durability. Consider the following factors when selecting the perfect fabric:
1. Comfort: Evaluate how the fabric feels against your skin. Consider factors such as softness, breathability, and stretch.
2. Durability: Determine how well the fabric will hold up over time. Consider factors such as the thread count, weave, and fabric strength.
3. Style: Choose a fabric that aligns with the style you envision for your shirt. Consider factors such as color, pattern, and texture.
4. Maintenance: Consider the care instructions for the fabric. Some fabrics require special handling, such as dry cleaning or gentle washing.
Once you’ve considered these factors, visit a fabric store or explore online options to find the perfect fabric for your shirt. Take your time to compare different options, and don’t be afraid to ask for assistance from store staff if needed.
Taking accurate body measurements
Before you can start cutting and sewing your fabric, it’s important to take accurate body measurements. This step ensures that your finished shirt will fit you perfectly. Here’s a guide on how to take the necessary measurements:
1. Neck: Wrap the measuring tape around the base of your neck, where the collar of the shirt will sit.
2. Chest: Measure around the fullest part of your chest, ensuring that the tape is parallel to the floor.
3. Waist: Measure around your natural waistline, which is typically the narrowest part of your torso.
4. Hips: Measure around the widest part of your hips, ensuring that the tape is parallel to the floor.
5. Sleeve length: Measure from the top of your shoulder to your wrist bone, with your arm slightly bent.
6. Shirt length: Measure from the base of your neck to the desired length of your shirt.
7. Shoulder width: Measure from the edge of one shoulder to the edge of the other, across the back.
Once you have these measurements, refer to your chosen shirt pattern for guidance on selecting the appropriate size and making any necessary adjustments.










Leave a reply
You must be logged in to post a comment.