Welcome to the ultimate guide on how to make your own shirt part 2! let’s go to on our Ultimate Guide: Step-by-Step Instructions on How to Make Your Own Shirt
Understanding shirt patterns and sizes
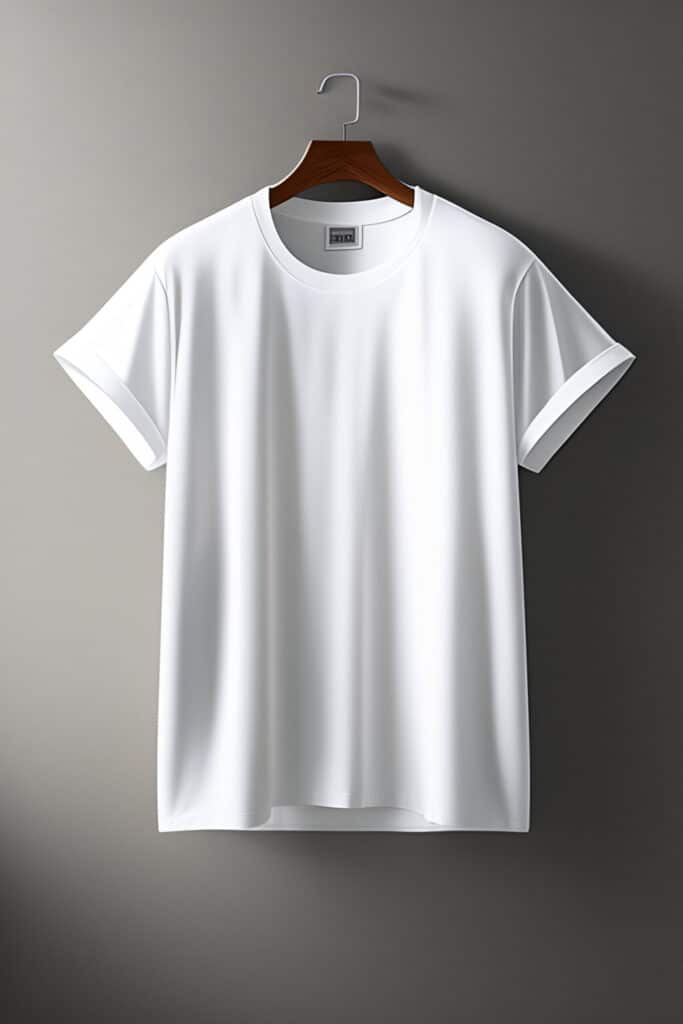
Shirt patterns come in a variety of sizes and styles, and understanding how to read and interpret them is essential for making a well-fitted shirt. Here are some key elements to consider:
1. Size range: Most shirt patterns will offer a range of sizes, typically indicated by measurements such as chest, waist, and hip circumference. Choose the size that corresponds closest to your own measurements.
2. Style variations: Shirt patterns often offer different style options, such as different collar styles, sleeve lengths, and hemline variations. Consider these options when selecting your pattern.
3. Cutting lines and notches: Patterns will have cutting lines that indicate where to cut your fabric pieces. Notches help you align and match different fabric pieces during the sewing process.
Carefully study your chosen pattern’s instructions and diagrams to ensure you understand how to lay out and cut your fabric pieces accurately.
Buy your t-shirt designs with hayani designs
Cutting the fabric and preparing the pieces
Now that you have your measurements and pattern ready, it’s time to cut your fabric and prepare the pieces for sewing. Follow these steps:
1. Prepare your fabric: Iron out any wrinkles and lay your fabric on a flat surface. If necessary, pre-wash your fabric to prevent any shrinkage after the shirt is made.
2. Align the pattern: Place your pattern pieces on the fabric, aligning them according to the cutting lines and notches indicated on the pattern. Use pins or weights to secure the pattern in place.
3. Cut the fabric: Carefully cut along the cutting lines of the pattern, ensuring clean and accurate cuts. Take your time to avoid any mistakes.
4. Mark the fabric: Use tailor’s chalk or fabric markers to mark any necessary sewing lines, darts, or other design details indicated on the pattern.
Once you have cut and marked all the necessary fabric pieces, you’re ready to start sewing your shirts together.
see more about How To Start A T-Shirt Business With A DTG Printer
Sewing the shirt together
Sewing your shirts together is where the magic happens. Follow these steps to ensure accurate and professional-looking stitching:
1. Prepare your sewing machine: Thread your sewing machine with the appropriate thread color and install the necessary presser foot for the specific sewing techniques you’ll be using.
2. Sew the darts: Darts help create shape and a better fit. Pin the fabric pieces together along the dart lines, and sew them following the pattern’s instructions.
3. Sew the seams: Pin the fabric pieces together, right sides facing each other, along the designated seam lines. Use the appropriate stitch type and length for your fabric and pattern. Backstitch at the beginning and end of each seam to secure the stitching.
4. Press the seams: After sewing each seam, press it open or to one side using an iron. This will give your shirt a polished and professional look.
5. Attach collars, cuffs, and other details: Follow the pattern’s instructions to attach collars, cuffs, and any other design elements to your shirt. Take your time to ensure precise alignment and stitching.
6. Try on the shirts: Once the main construction is complete, try on the shirts to check the fit. Make any necessary adjustments, such as taking in the sides or shortening the length.
By following these steps, you’ll be well on your way to creating a beautifully sewn shirts that fits you perfectly.
Adding buttons, collars, and cuffs
Adding buttons, collars, and cuffs to your shirt is the final touch that brings it all together. Here’s how to do it:
1. Buttonholes: Use your sewing machine’s buttonhole function or create buttonholes manually. Ensure that the buttonhole size matches the size of your buttons.
2. Buttons: Sew buttons onto the opposite side of the buttonholes, aligning them correctly for a secure fit.
3. Collars: Follow the pattern’s instructions to attach the collar to the neckline of your shirt. Take your time to ensure a smooth and even attachment.
4. Cuffs: Attach the cuffs to the sleeves of your shirt, following the pattern’s instructions for folding and stitching.
These finishing touches add functionality and style to your shirt, giving it a professional and polished look.
Finishing touches and quality control
Before you proudly wear your newly made shirt, take the time to add some finishing touches and perform a thorough quality control check:
1. Trim loose threads: Trim any loose threads that may be sticking out from the seams or other areas of your shirt.
2. Press the shirt: Give your shirt a final press with an iron to smooth out any wrinkles and ensure a crisp appearance.
3. Check for any sewing errors: Inspect your shirt for any sewing errors, such as missed stitches or uneven seams. Make any necessary corrections.
4. Try on the shirt again: Put on your finished shirt once more to ensure that all adjustments and modifications have resulted in the desired fit and style.
By giving your shirt this final attention to detail, you can be confident that you’ve created a garment that is not only well-made but also showcases your personal style.
.











Leave a reply
You must be logged in to post a comment.