Say Goodbye to Embroidery Regret: How to Safely Remove Stitching Without Leaving Holes
Are you experiencing embroidery regret? Don’t worry, you’re not alone. Many people have had that sinking feeling after finishing an embroidery project only to realize they made a mistake or simply don’t like the design anymore. But the good news is, you don’t have to live with your embroidery mistakes forever. In this article, we will show you how to safely remove stitching without leaving any unsightly holes behind.
Removing embroidery can be a delicate process, especially if you want to salvage the fabric or start over with a new design. That’s why it’s important to follow the right steps to avoid any damage. From choosing the right tools to gently removing the stitches, we’ll guide you through the process step by step, ensuring that your fabric remains intact.
So, if you’re tired of staring at a mistake, don’t despair! With our expert tips and tricks, you can say goodbye to embroidery regret and start fresh with a clean canvas. Get ready to reclaim your fabric and bring your new vision to life!
Understanding the risks of removing embroidery
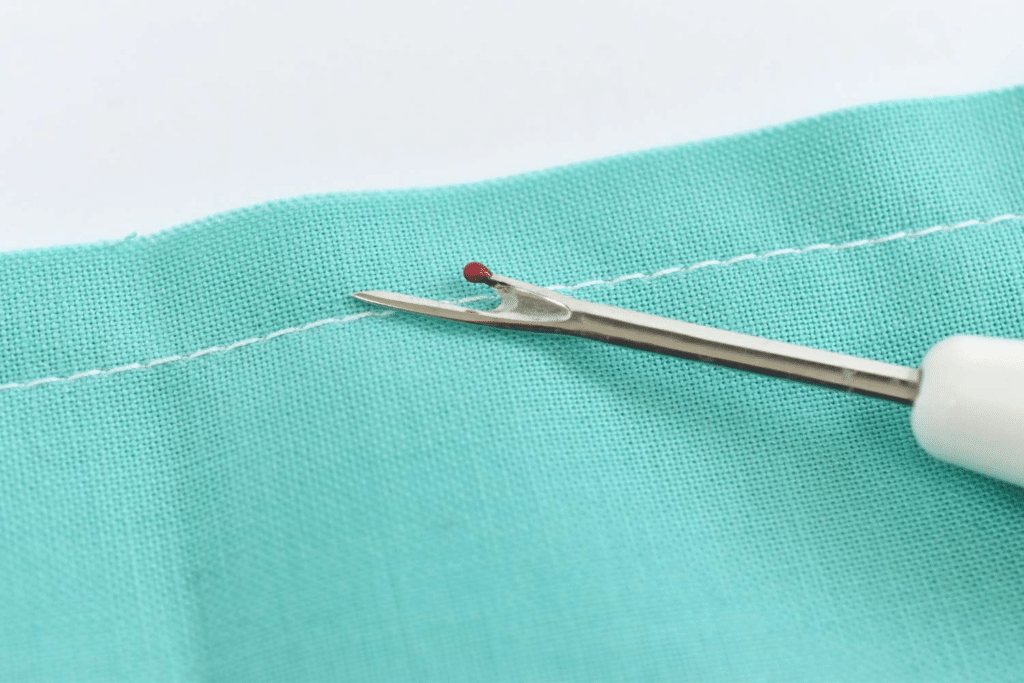
When it comes to removing embroidery, it’s crucial to understand the potential risks involved. The first thing to consider is the type of fabric you’re working with. Delicate fabrics such as silk or lace require extra care to prevent damage. Additionally, the type of embroidery you’re removing will also impact the removal process. For example, machine embroidery may be more difficult to remove compared to hand embroidery.
Another important factor to consider is the age of the embroidery. Older embroidery may have weakened threads, making them more prone to breakage during the removal process. It’s important to assess the condition of the embroidery and the fabric before proceeding with removal.
Assessing the fabric and embroidery type
Before you begin removing the stitching, take some time to assess the fabric and embroidery type. This will help you determine the best approach for removal. Start by examining the fabric for any signs of weakness or damage. If the fabric is already compromised, it may be best to leave the embroidery in place or consult a professional for assistance.
Next, identify the type of embroidery you’re working with. Is it machine embroidery or hand embroidery? Machine embroidery is typically more tightly stitched and may require additional care during removal. Hand embroidery, on the other hand, may be easier to remove but still requires caution.
Preparing the fabric for removal
Once you’ve assessed the fabric and embroidery type, it’s time to prepare the fabric for removal. Start by gently washing the fabric to remove any dirt or stains. This will make it easier to see the stitches and prevent any unwanted discoloration during the removal process.
After washing, allow the fabric to air dry completely. Avoid using a dryer as the heat can shrink the fabric or distort the embroidery. Once the fabric is dry, lay it flat on a clean surface and ensure it’s smooth and free from wrinkles. This will make it easier to work with and prevent any accidental damage.
Tools and techniques for removing embroidery
Now that your fabric is prepped and ready, it’s time to gather the necessary tools and learn the techniques for removing embroidery. The tools you’ll need include small, sharp scissors, a seam ripper, and tweezers. These tools will help you carefully cut and remove the stitches without damaging the fabric.
To start, use the small scissors or seam ripper to carefully cut the threads on the front side of the embroidery. Take your time and work in small sections to ensure accuracy. Once the threads are cut, use the tweezers to gently pull out the remaining stitches. Be careful not to tug too hard, as this can cause holes or tears in the fabric.
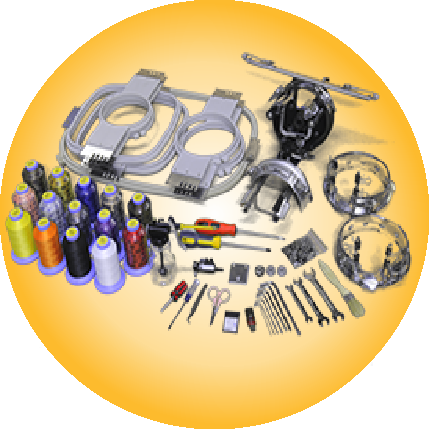
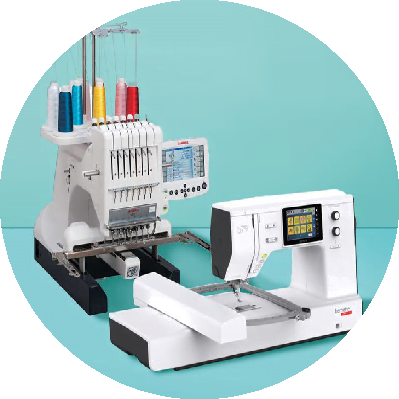
shop embroidery tools from Hayani designs
-
Product on sale
 Original price was: $18.33.$6.38Current price is: $6.38.
 -
Product on sale
 Original price was: $8.82.$4.63Current price is: $4.63.
 -
Product on sale
 Original price was: $9.98.$4.06Current price is: $4.06.
 -
Product on sale
 Original price was: $14.50.$4.63Current price is: $4.63.
Step-by-step guide to safely removing stitching
Now that you have the tools and techniques in place, let’s dive into a step-by-step guide for safely removing stitching from your embroidery. Follow these instructions carefully to minimize any potential damage to your fabric:
1. Start by identifying a corner or edge of the embroidery that is less visible. This will serve as your starting point.
2. Using the small scissors or seam ripper, carefully cut the threads on the front side of the embroidery. Take your time and work in small sections.
3. Once the threads are cut, use the tweezers to gently pull out the remaining stitches. Work slowly and carefully, ensuring that you’re not causing any damage to the fabric.
4. Continue to work your way through the embroidery, cutting and removing the stitches one section at a time. Take breaks if needed to avoid straining your eyes or hands.
5. Once all the stitches are removed, inspect the fabric for any leftover threads or remnants. Use the tweezers to gently remove any remaining pieces.
6. Finally, give the fabric a gentle wash to remove any loose threads or debris. Allow it to air dry completely before moving on to the next step.
Tips for minimizing damage and preserving the fabric After Remove Stitching
Removing embroidery can be a delicate process, but with these tips, you can minimize any potential damage and preserve the fabric:
1. Work in a well-lit area to ensure you can see the stitches clearly.
2. Take breaks if you start to feel strained or fatigued. It’s important to have a steady hand and clear vision during the removal process.
3. Use a magnifying glass or magnifying lamp if necessary to get a closer look at the stitches.
4. Avoid pulling too hard on the threads, as this can cause holes or tears in the fabric.
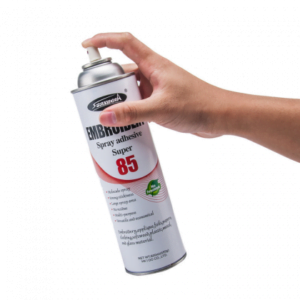
5. If you encounter tough or stubborn stitches, use a small amount of fabric adhesive remover or rubbing alcohol to soften them before removing.
6. Take your time and be patient. Rushing through the removal process can lead to mistakes and unnecessary damage to the fabric.
Aftercare and finishing touches for Remove Stitching
Once you’ve successfully removed the embroidery, it’s time for some aftercare and finishing touches. Start by gently washing the fabric again to remove any leftover adhesive remover or debris. Allow it to air dry completely before moving on to the next step.
If there are any holes or marks left behind from the removed embroidery, consider using fabric dye or fabric markers to camouflage them. This will help create a seamless look and give your fabric a fresh start. Additionally, you can also consider adding new embroidery or embellishments to cover up any remaining imperfections.
See Best Way to Remove Sewing Stitches
Alternatives to Remove Stitching embroidery
If you’re hesitant about removing the embroidery yourself or if the fabric is too delicate, there are alternatives to consider. One option is to consult a professional embroiderer who can provide expert advice and assistance. They may be able to remove the embroidery without causing any damage to the fabric.
Another alternative is to repurpose the fabric. If the embroidery regret is too significant to salvage, consider cutting out the embroidered section and using it for smaller projects such as patches or appliques. This way, you can still enjoy the embroidery in a different form without the regret.
Conclusion
Embroidery regret doesn’t have to haunt you forever. With the right tools, techniques, and a little bit of patience, you can safely remove stitching from your embroidery without leaving any unsightly holes behind. Whether you want to start fresh with a new design or simply correct a mistake, the process can be done with care and precision.
Remember to assess the fabric and embroidery type, prepare the fabric properly, and gather the necessary tools before starting the removal process. Follow the step-by-step guide, use the tips for minimizing damage, and finish off with some aftercare and finishing touches. And if removing the embroidery seems too daunting, don’t hesitate to seek professional help or repurpose the fabric in creative ways.
So, don’t let embroidery regret hold you back. Reclaim your fabric, say goodbye to mistakes, and bring your new vision to life with confidence!










Add comment
You must be logged in to post a comment.