Unraveling the Time Factors: How Long Does Embroidery Really Take?
Embroidery is a timeless artform that requires skill, patience, and a keen eye for detail. But have you ever wondered how long it actually takes to create a beautifully embroidered piece? In this article, we will unravel the time factors involved in embroidery and delve into the intricate process behind this craft.
Embroidery, with its delicate stitches and intricate designs, demands time and dedication. From selecting the right fabric and thread to sketching and transferring the design onto the fabric, each step requires careful consideration. But it doesn’t stop there. The actual embroidery process involves mastering various techniques like satin stitch, backstitch, and French knots, which can vary in complexity depending on the design.
Factors such as the size and complexity of the design, the skill level of the embroiderer, and the availability of uninterrupted time all play a role in determining how long an embroidery project takes to complete. Whether it’s a small, straightforward pattern or a large, intricate masterpiece, the time commitment of embroidery is something every aspiring embroiderer should consider.
So if you’re curious about the time it takes to create stunning embroidered pieces or are considering taking up embroidery as a hobby, keep reading to uncover the fascinating world of embroidery time factors.
Factors that affect embroidery time
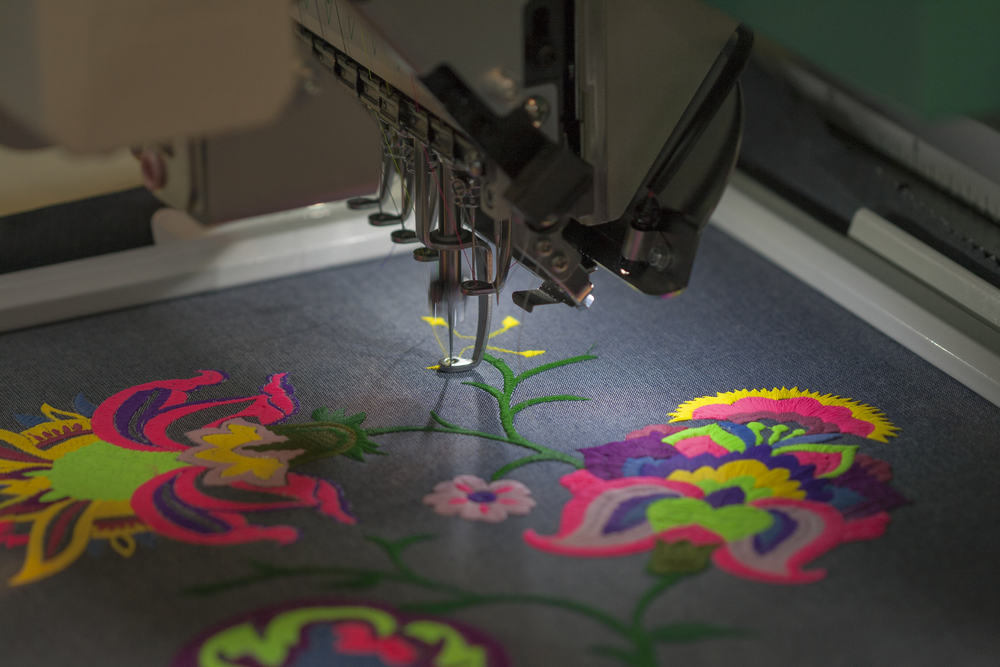
The time it takes to complete an embroidery project can vary significantly depending on various factors. One of the primary factors is the size and complexity of the design. A small, simple design will naturally take less time compared to a large, intricate one. Additionally, the skill level of the embroiderer plays a crucial role. An experienced embroiderer who has honed their skills over time will be able to work faster and more efficiently compared to a beginner.
Another factor that affects embroidery time is the availability of uninterrupted time. Embroidery requires focus and concentration, and interruptions can hinder progress. If an embroiderer can dedicate dedicated blocks of time to work on a project without interruptions, they will be able to complete it more quickly.
Understanding the different Embroidery Time techniques
Embroidery encompasses a wide range of techniques, each with its own time requirements. The technique used depends on the desired effect and the complexity of the design. Some of the commonly used techniques include satin stitch, backstitch, and French knots.
The satin stitch is a basic technique where the thread is laid flat on the fabric and stitched back and forth to create a smooth and solid fill. This technique is relatively quick to execute, making it ideal for larger areas that need to be filled.
Backstitch, on the other hand, is a more time-consuming technique. It involves creating single, continuous stitches by inserting the needle at the end of the previous stitch. Backstitch is commonly used for outlining and adding fine details.
French knots are tiny, decorative knots created by wrapping the thread around the needle multiple times before inserting it back into the fabric. This technique requires precision and patience, as each knot must be carefully formed. French knots are often used to create textured surfaces or add dimension to a design.
Embroidery Time estimates for common embroidery projects
The time it takes to complete an embroidery project can vary greatly depending on its size and complexity. Here are some rough time estimates for common types of embroidery projects:
1. Small, simple design (e.g., a single flower or letter): 5-10 minute
2. Medium-sized design (e.g., a small motif or simple scene): 15-25 minute
3. Large, complex design (e.g., a detailed landscape or intricate pattern): 30+ minute
These estimates are just a guideline and can vary depending on the embroiderer’s skill level and the intricacy of the design. It’s important to remember that embroidery is a time-consuming craft that requires patience and attention to detail.
Tips for speeding up the Embroidery Time process
While embroidery is inherently a slow and meticulous process, there are several tips that can help speed up the overall timeline of a project:
1. Plan ahead: Before starting a project, take the time to plan out the design and gather all the necessary materials. This will prevent unnecessary delays and interruptions during the embroidery process.
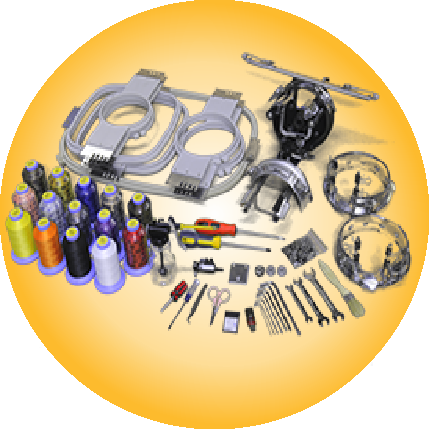
2. Use the right tools: Investing in good quality embroidery needles, hoops, and scissors can significantly improve efficiency and reduce the time spent on each stitch.
3. Practice, practice, practice: The more you practice embroidery, the faster and more proficient you will become. Regular practice helps improve your stitching speed and accuracy.
4. Break it down: If you’re working on a large and complex design, break it down into smaller sections and tackle them one at a time. This will make the project more manageable and help maintain motivation throughout the process.
5. Take breaks: Embroidery requires concentration, and working for long periods without breaks can lead to fatigue and mistakes. Take regular breaks to rest your eyes and hands, allowing you to maintain focus and accuracy for longer periods.
How to plan your embroidery project timeline
Planning your embroidery project timeline is essential for staying organized and ensuring timely completion. Here’s a step-by-step guide to help you plan your embroidery project effectively:
1. Choose your design: Select a design that aligns with your skill level and the time you can dedicate to the project.
2. Gather materials: Make a list of all the materials you’ll need, including fabric, thread, needles, hoops, and any additional embellishments.
3. Estimate time: Consider the size and complexity of the design and estimate the number of hours it will take to complete.
4. Break it down: Divide the project into manageable sections and assign time estimates to each section.
5. Create a schedule: Based on the time estimates, create a schedule that outlines when you will work on each section of the project.
6. Allocate time: Dedicate specific blocks of uninterrupted time to work on your embroidery project. This will help you maintain focus and avoid distractions.
7. Monitor progress: Regularly assess your progress to ensure you’re staying on track with your timeline. Make adjustments if necessary.
Tools and resources for efficient embroidery
Using the right tools and resources can significantly improve the efficiency of your embroidery projects. Here are some essential tools and resources to consider:
1. Embroidery needles: Invest in a variety of embroidery needles to accommodate different thread thicknesses and fabric types.
2. Embroidery hoops: Use hoops to keep the fabric taut and prevent wrinkles or puckering during stitching.
3. Scissors: Sharp, small scissors are essential for cutting thread and trimming excess fabric.
4. Embroidery floss organizer: Use an organizer to keep your embroidery floss neatly sorted and easily accessible.
5. Embroidery software and apps: Utilize embroidery software or mobile apps to create and edit designs, making the transfer process more efficient.
6. Online tutorials and courses: Take advantage of online tutorials and courses to learn new techniques and improve your embroidery skills.
-
Product on sale
 Original price was: $18.33.$6.38Current price is: $6.38.
 -
Product on sale
 Original price was: $8.82.$4.63Current price is: $4.63.
 -
Product on sale
 Original price was: $9.98.$4.06Current price is: $4.06.
 -
Product on sale
 Original price was: $14.50.$4.63Current price is: $4.63.
shop needles with hayani designs
Real-life examples of embroidery timeframes
To provide a better understanding of embroidery timeframes, here are a few real-life examples:
1. A beginner embroiderer working on a small, simple design might take around 10-15 hours to complete the project.
2. An experienced embroiderer working on a medium-sized design could finish it in approximately 20-30 hours.
3. An advanced embroiderer creating a large, intricate design might spend over 50 hours on the project, depending on the complexity.
These examples highlight the importance of practice and experience in reducing embroidery timeframes. As you become more skilled and familiar with different techniques, you’ll be able to complete projects more efficiently.
Embroidery outsourcing options
If you have a time-sensitive project or lack the necessary skills, outsourcing your embroidery can be a viable option. Many professional embroiderers offer their services for custom projects. By outsourcing, you can ensure high-quality results within a specified timeframe. However, keep in mind that outsourcing may come at a higher cost than doing it yourself.
Conclusion: Finding the right balance between quality and speed in embroidery
Embroidery is a craft that requires time, patience, and attention to detail. While it can be a time-consuming process, the end result is a beautifully crafted piece of art. By understanding the time factors involved in embroidery, you can plan your projects effectively and make conscious decisions about the level of intricacy and time commitment.
Whether you choose to embark on an embroidery project yourself or outsource it to a professional, finding the right balance between quality and speed is key. Remember that embroidery is a skill that improves with practice, and each project brings new opportunities to refine your technique and explore the world of this timeless artform.
So, if you’re ready to embark on an embroidery journey, prepare to invest the necessary time and effort. The rewards of creating stunning, hand-embroidered pieces are well worth it. Happy stitching!













Add comment
You must be logged in to post a comment.